I know a sewing tutorial is a little different than my normal theological blog posts but this site is supposed to be all about encouragement and I want to encourage you to try something new and creative! I started sewing about 3 years ago and I have found it to be so much fun, stress relieving, productive, useful, helpful, and all around good. I love to share my passion for sewing with others who also enjoy exercising their creative side. Here is my first ever attempt at a sewing tutorial for one of my recent projects. I hope you might be inspired to try making this or at least try to do something new and creative. Anything!
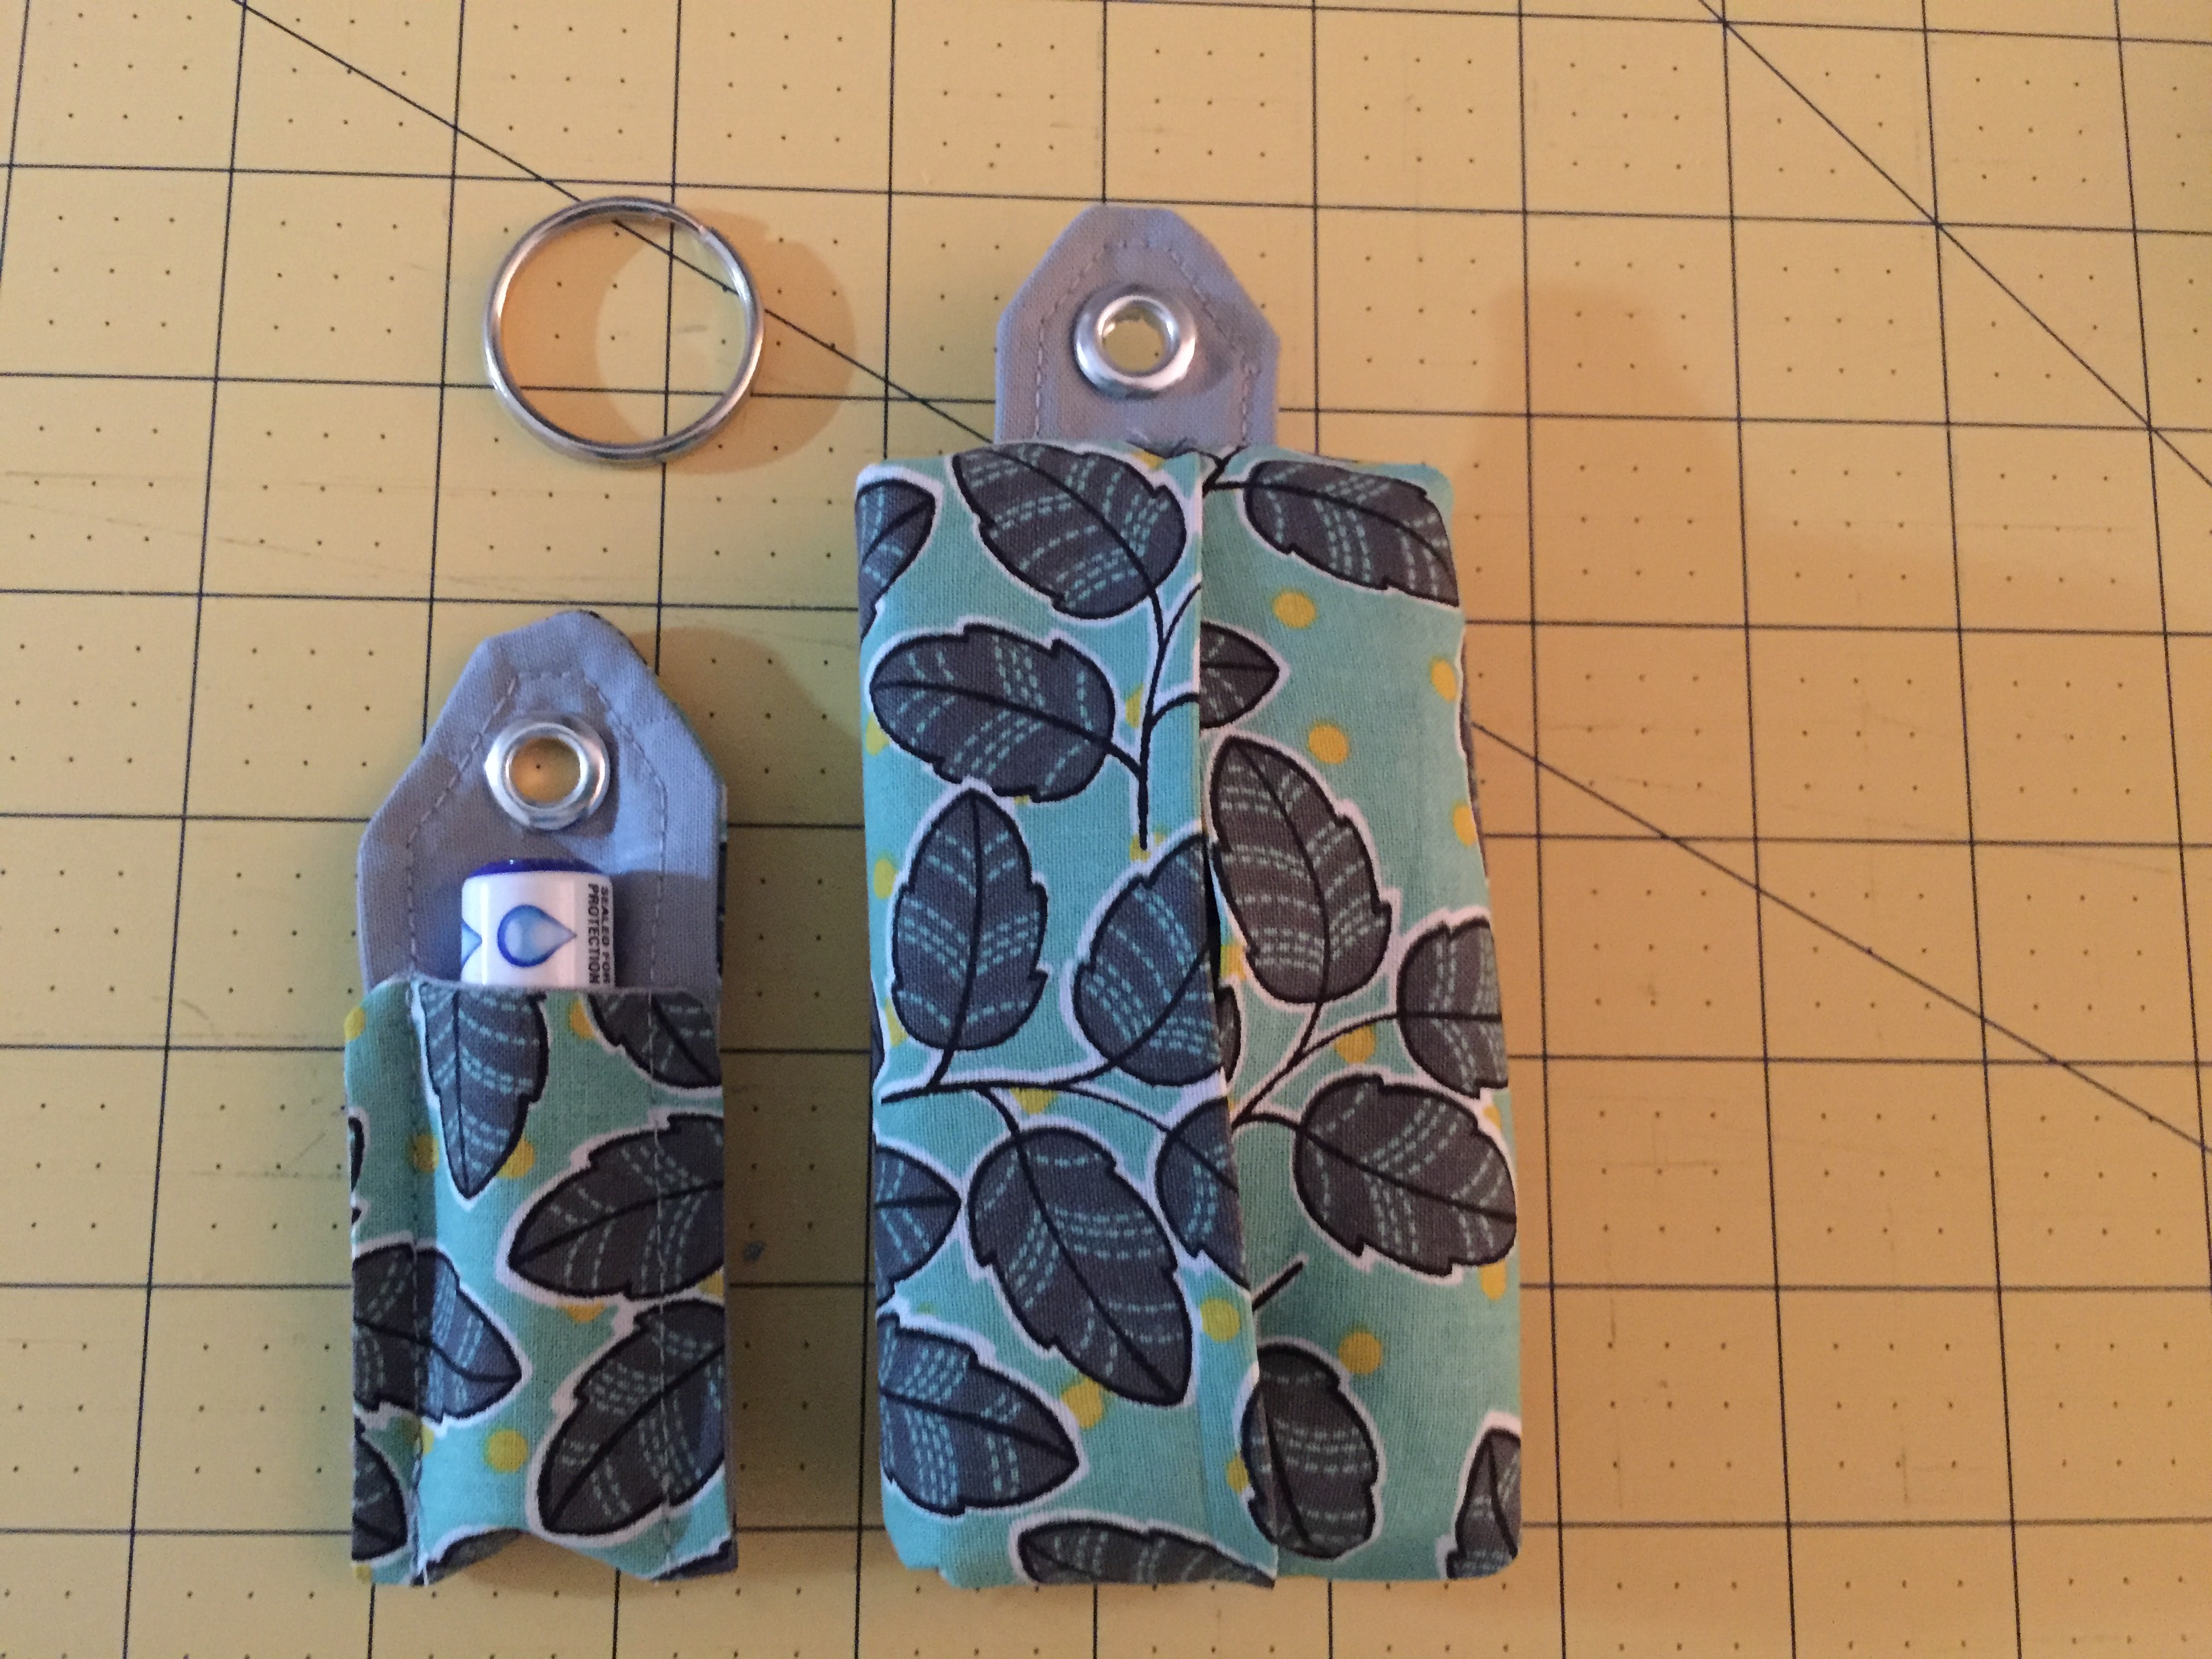
I wanted to find a cute, affordable, useful, and homemade gift I could give to my daughter’s teacher for Christmas. After surfing through Pinterest, I combined and tweaked a few ideas and came up with a matching chapstick and tissue holder on a key ring! I love it!

I ended up making 11 of them (for other friends) and decided at the end to attempt my first ever tutorial. I have learned so much from other’s tutorials I wanted to join in the fun. This is geared for a beginner so I tried to take lots of pictures and explain everything clearly but if you have any questions make sure to leave a comment!
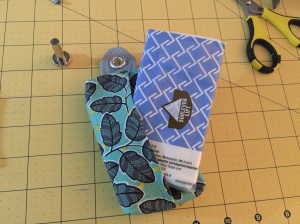
Here is what you will need:

2 Coordinating fabrics & thread, a large eyelet kit, key ring, hammer, sharp scissors, small scraps of fusible interfacing (not pictured) and a sewing machine (not pictured).
Cutting Instructions:
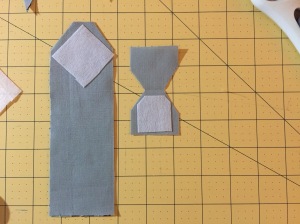
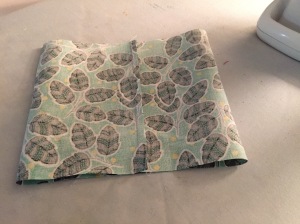
Cut the print to be 14″ x 5.75″ (this is for the tissue holder). Cut another piece of print to be 7″x 2.25″ (for chapstick holder).

From the plain fabric, cut piece to be 7″ x 2.25″ and 3″ x 1.5″. (This pictures has a piece at 6.5″ which I realized later and fixed! Oops, we all make mistakes! Don’t give up if it happens to you!)

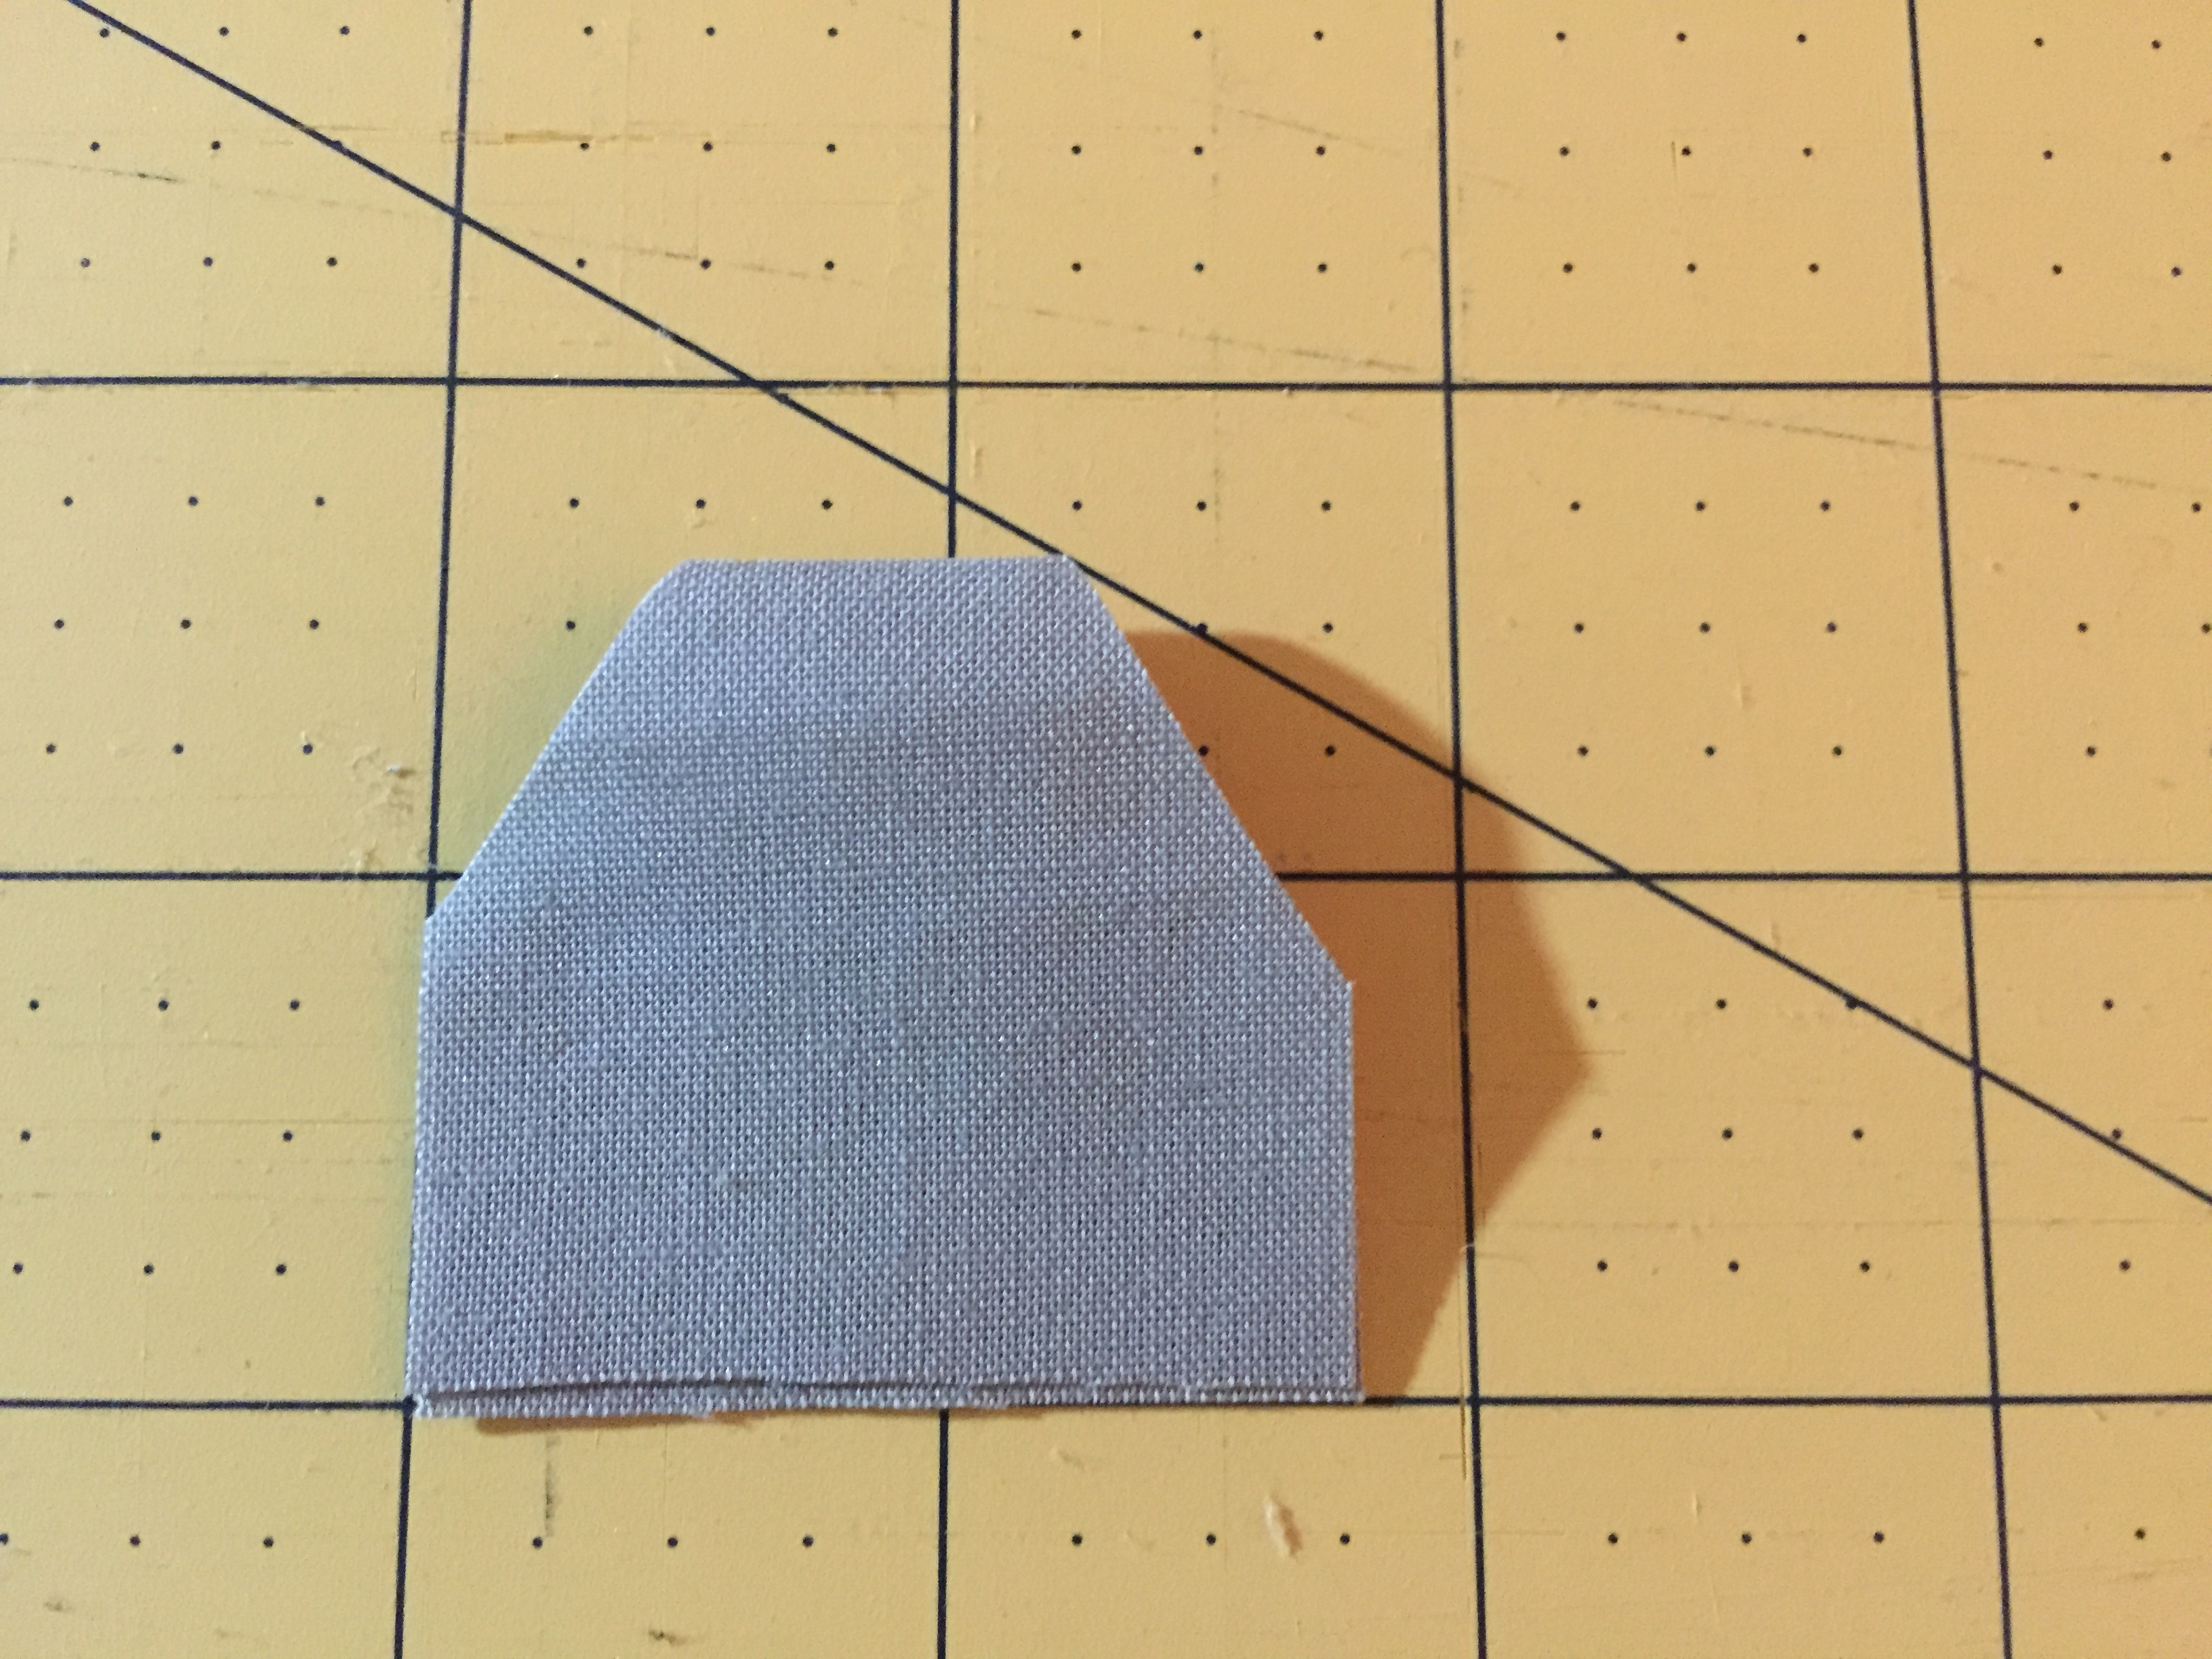
Match the 2 pieces that are 7″ x 2.25″, putting right sides together. Snip corners like this:


Fold the small 3″ piece in half and snip corners again like this:

Cut small pieces of fusible interfacing to add to the pieces like this. Fuse.
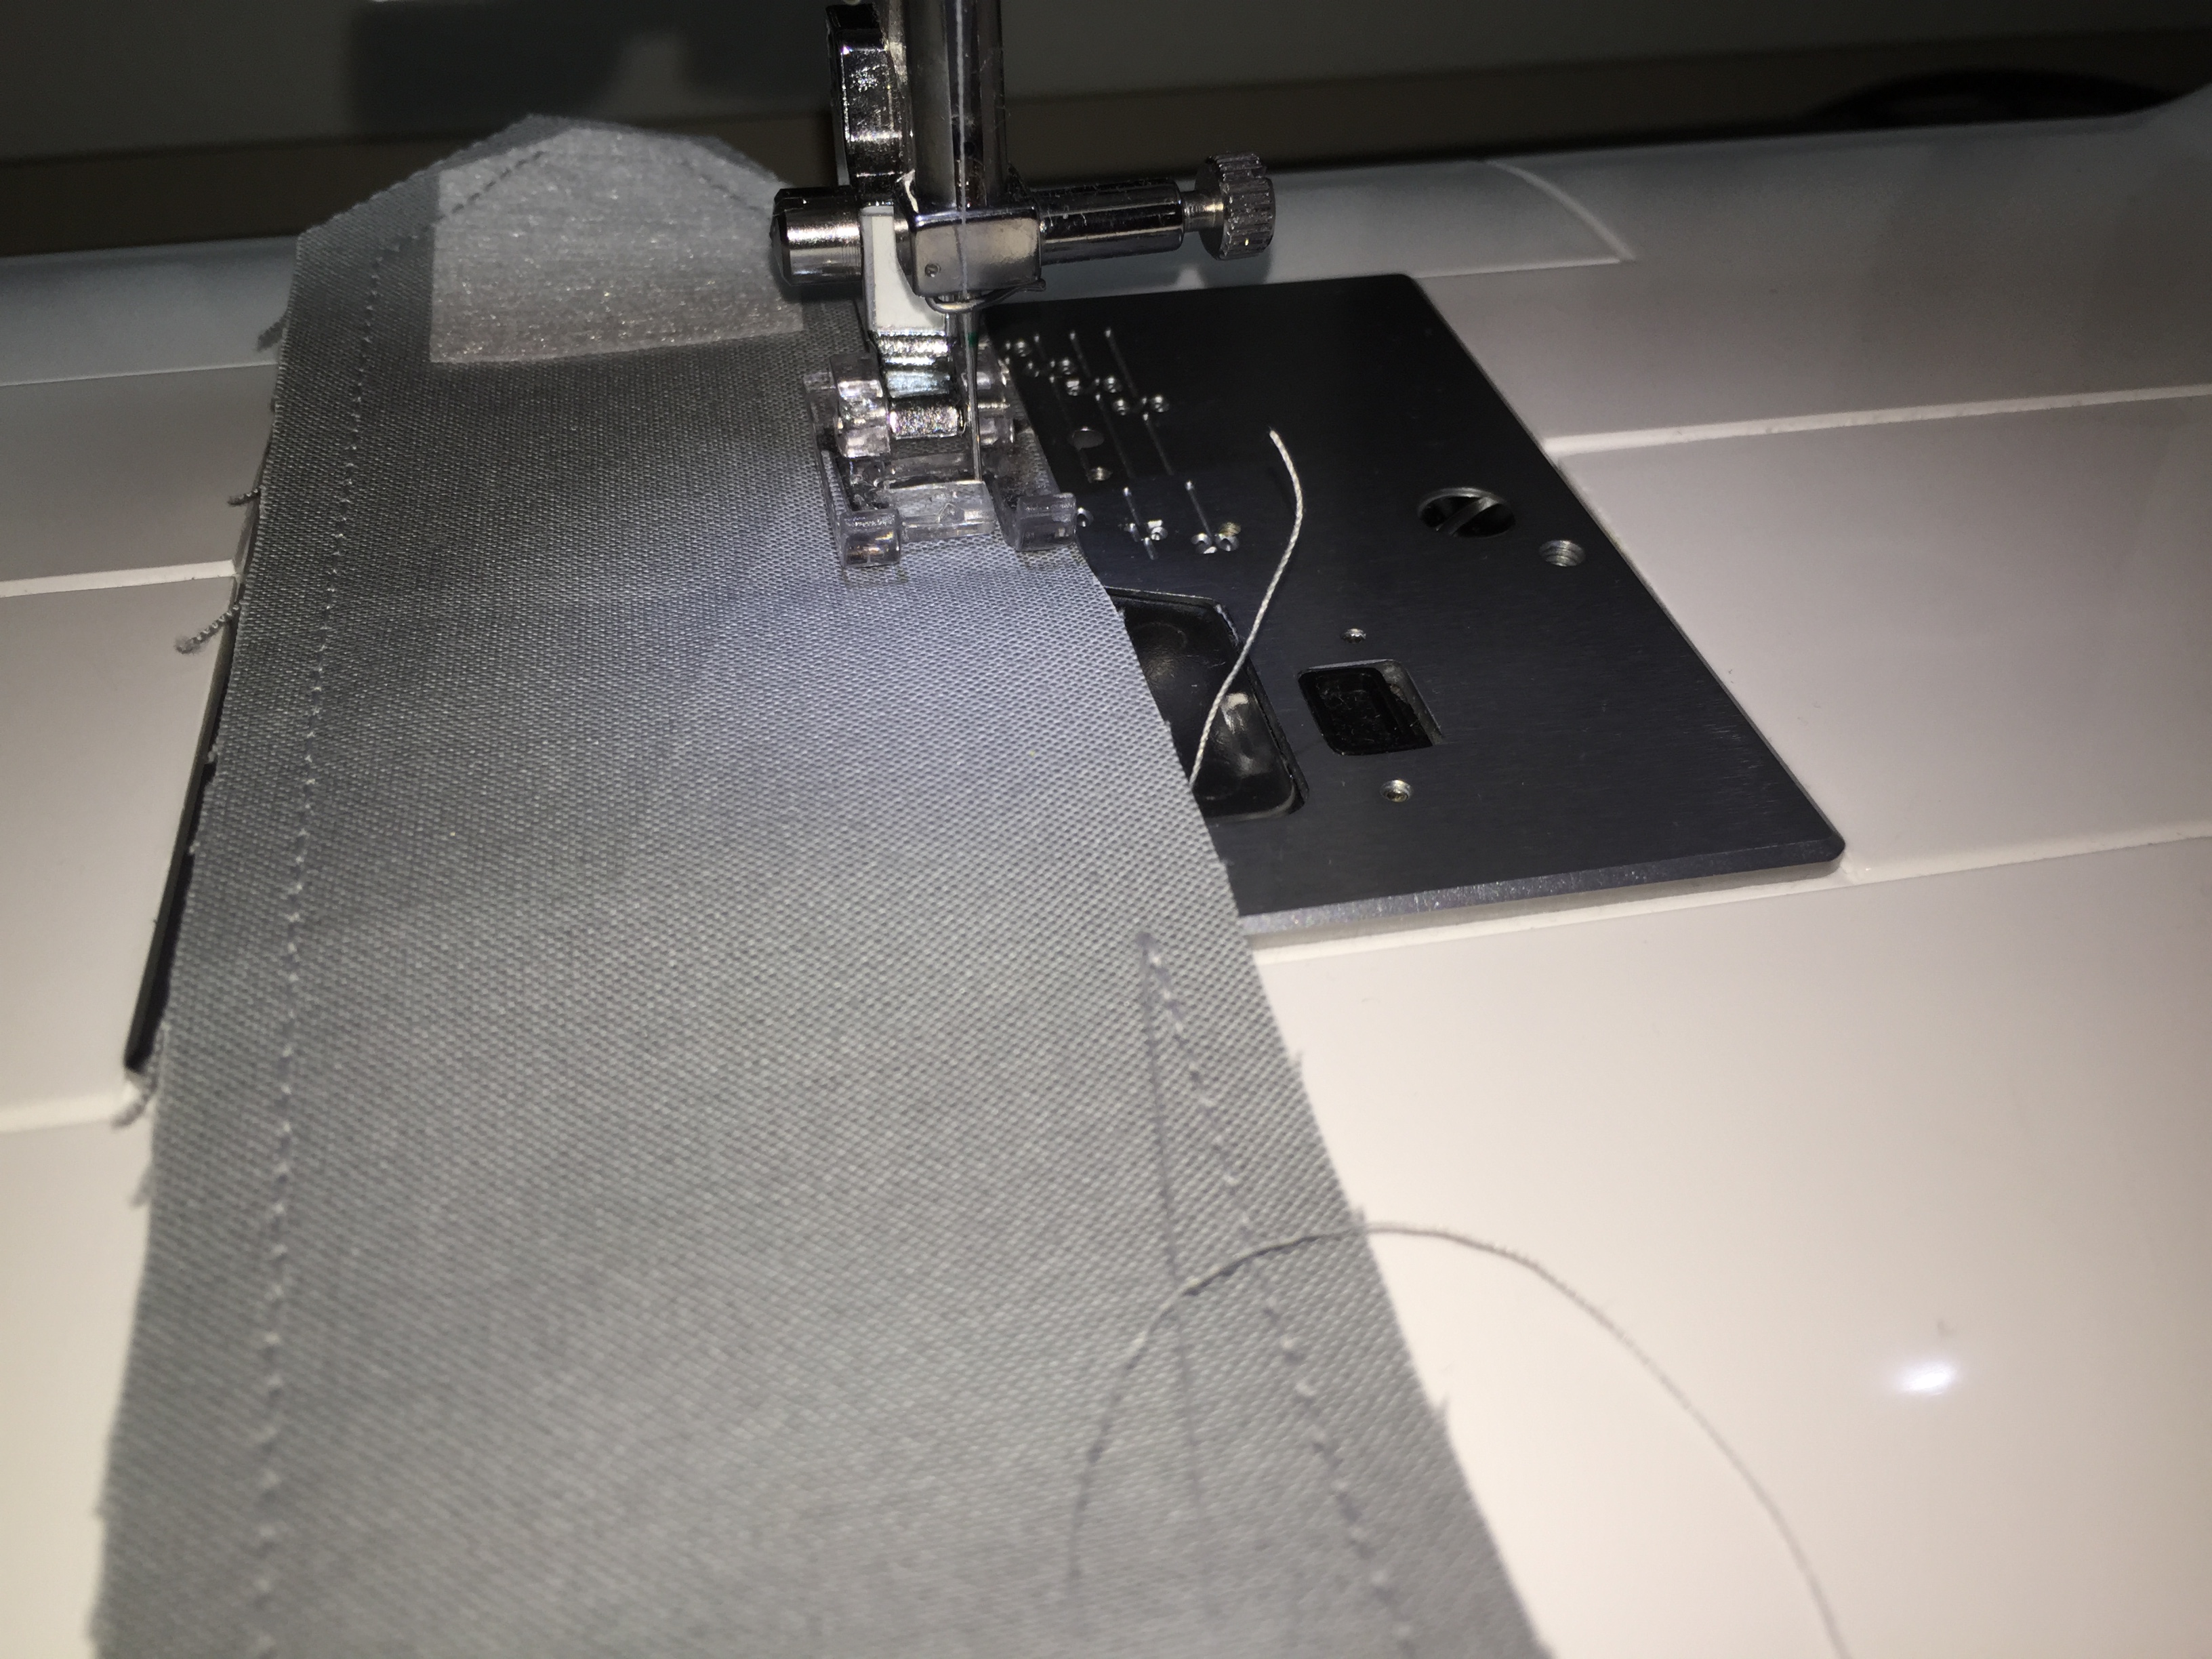
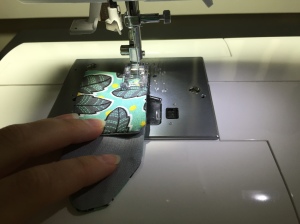
Congrats! You are now ready to sew! We’ll start with the chapstick holder. Take the 2- 7″x 2.25″ pieces, right sides together, and sew around the edge, leaving a 2″ gap on the side. Sew with a 1/4″ seam allowance.


Cut the corners so that you can turn it inside out nicely.
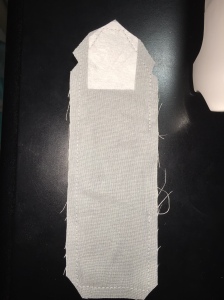
Turn it inside out through the gap. Iron. Fold up to be the right size for your chosen chapstick.


You will still have a gap. That’s okay because it will be sewn shut when you sew the sides. Beginning at the bottom left of the folded chapstick holder, sewing 1/4″ along the side, top, and other side until you end a the bottom right of the holder.

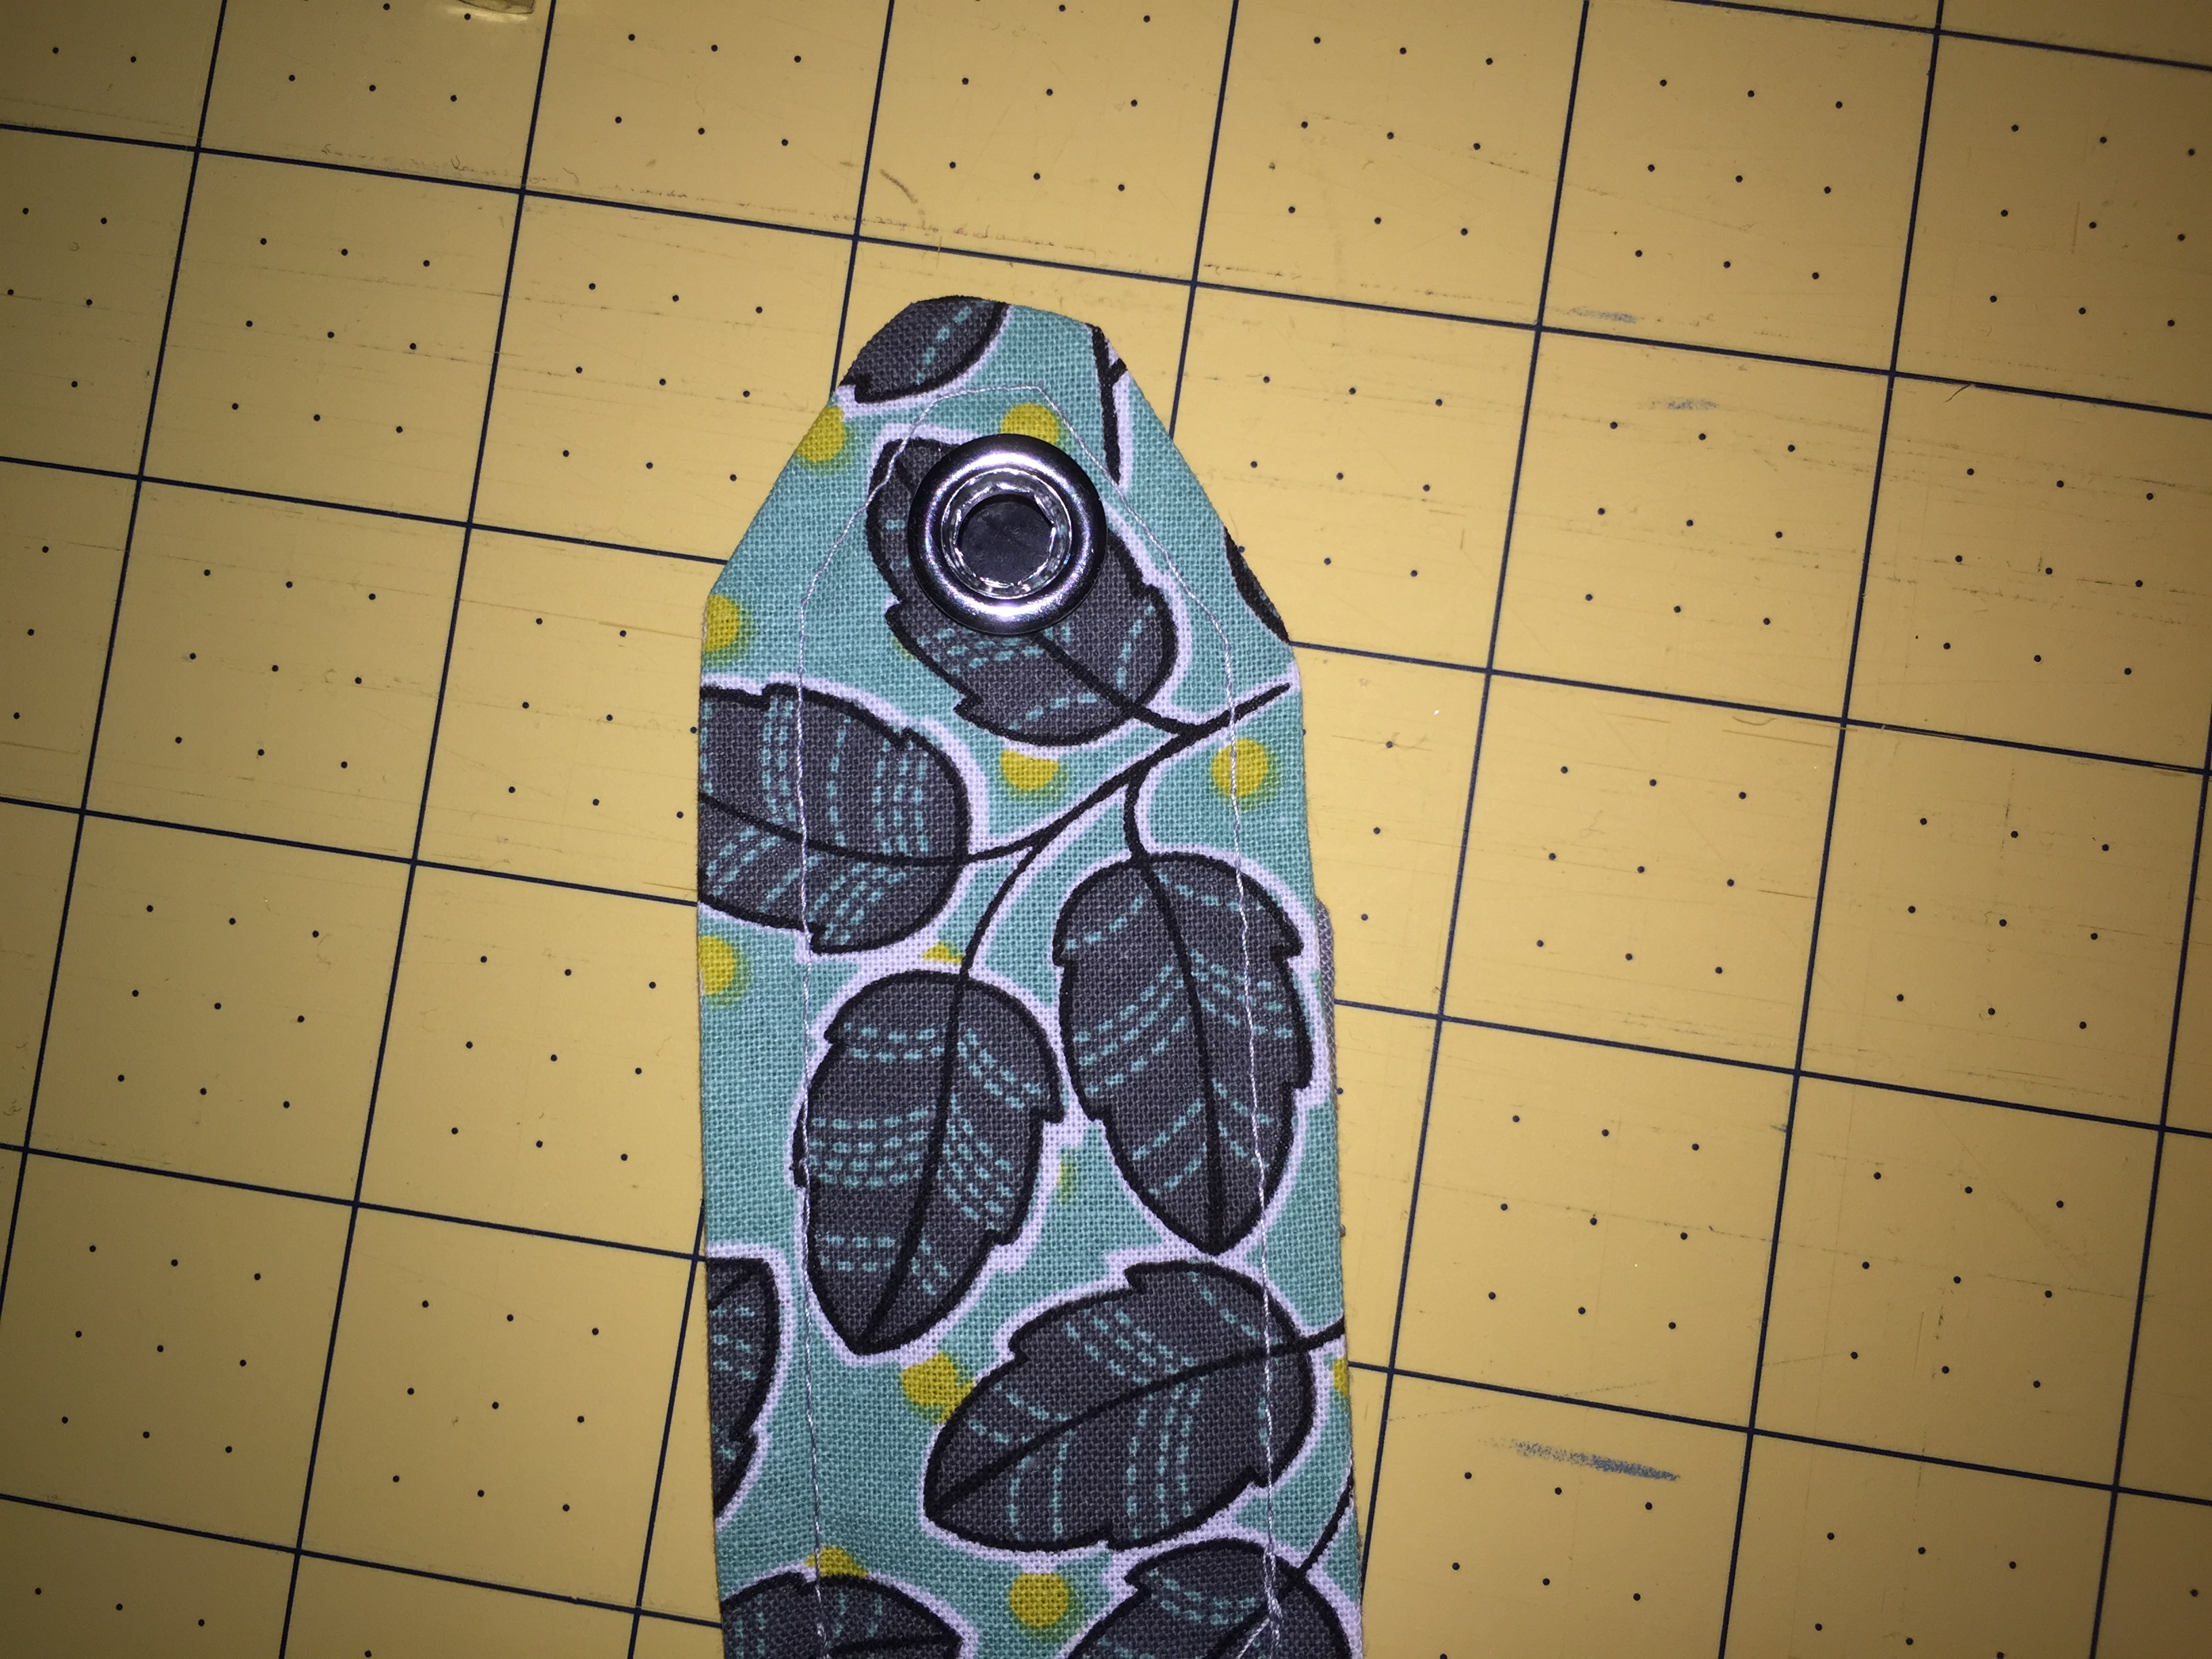
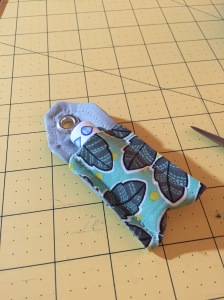
In order to put in the eyelet for the key ring, make a small hole in the center using very sharp, pointy scissors. If you recently purchased an eyelet kit, there will likely be directions on the box, from this point on, feel free to follow those instructions. In case you don’t have them here is what I did:


Put the front of the eyelet into the front of the chapstick holder and place on eyelet mount.

Place the back of the eyelet on over the inside. Using the tool, hammer gently into place.


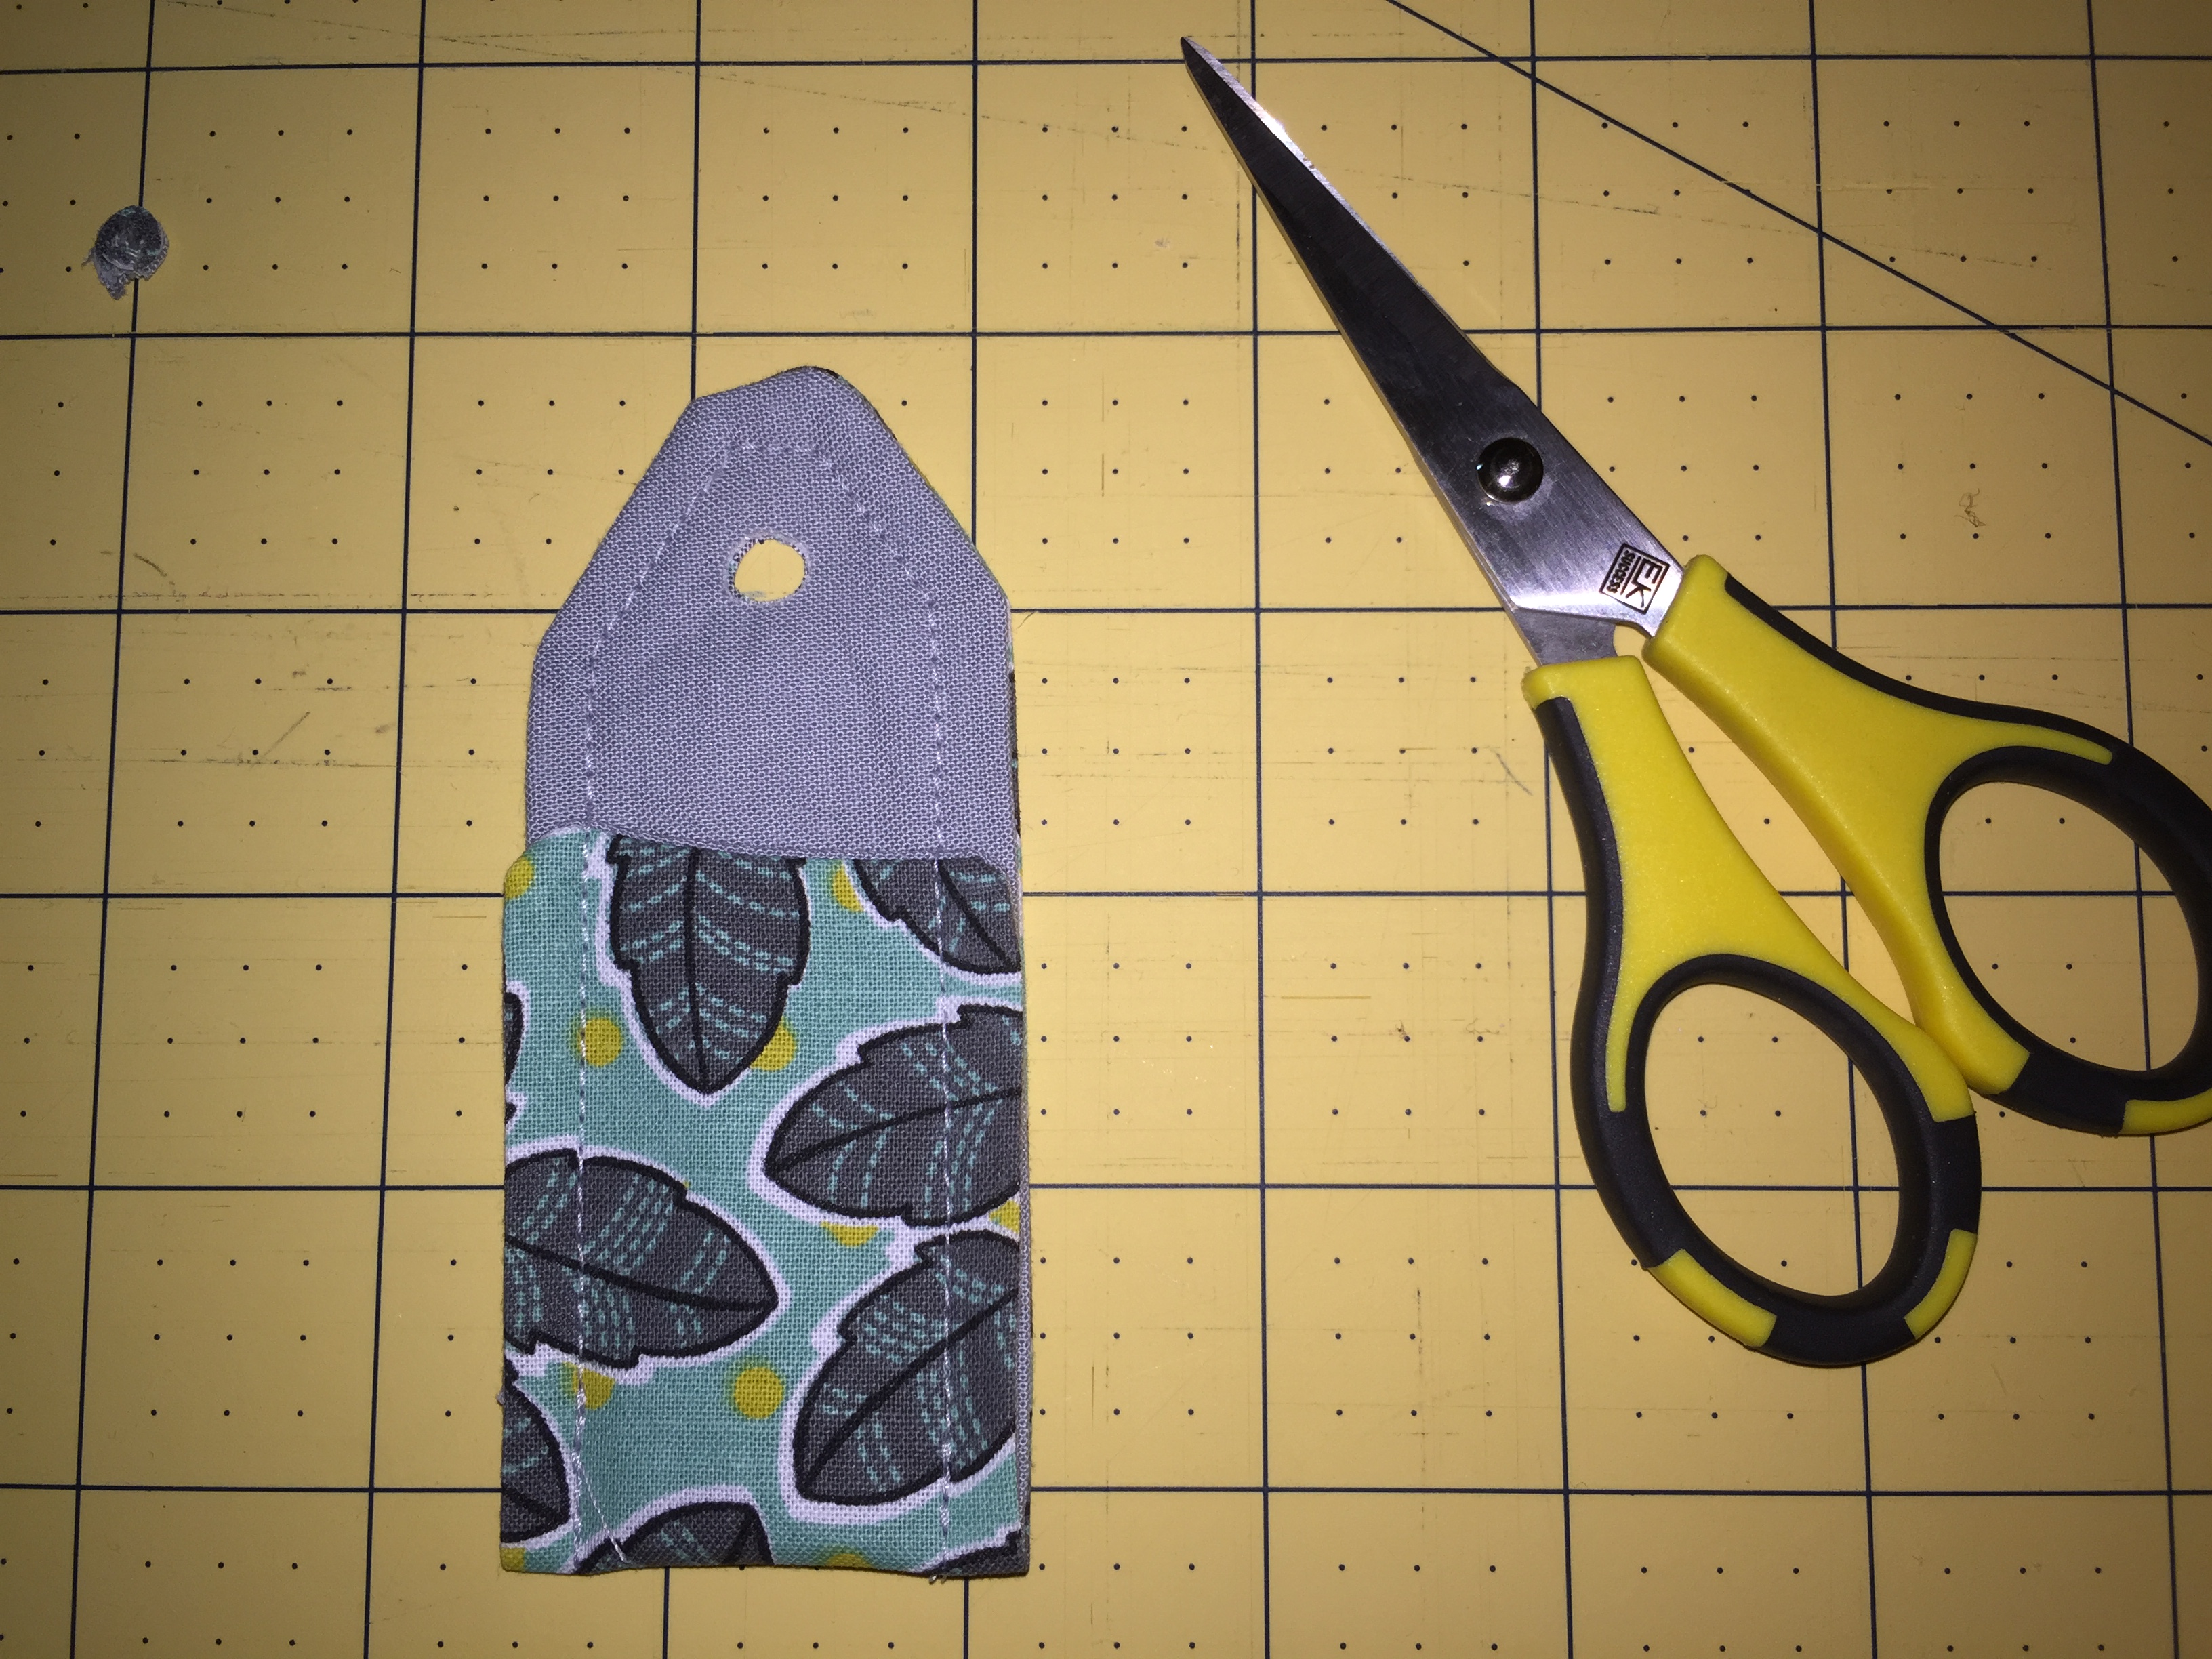
Ta da!!! You are done with the chapstick holder.
Now to make the tissue holder. I got this idea from this blog. I followed the instructions carefully except for adding an important tab in order to put it on the key ring. I’ll put together my own instructions below but if you have any questions you should check out her blog as she does a GREAT job on her tutorial.
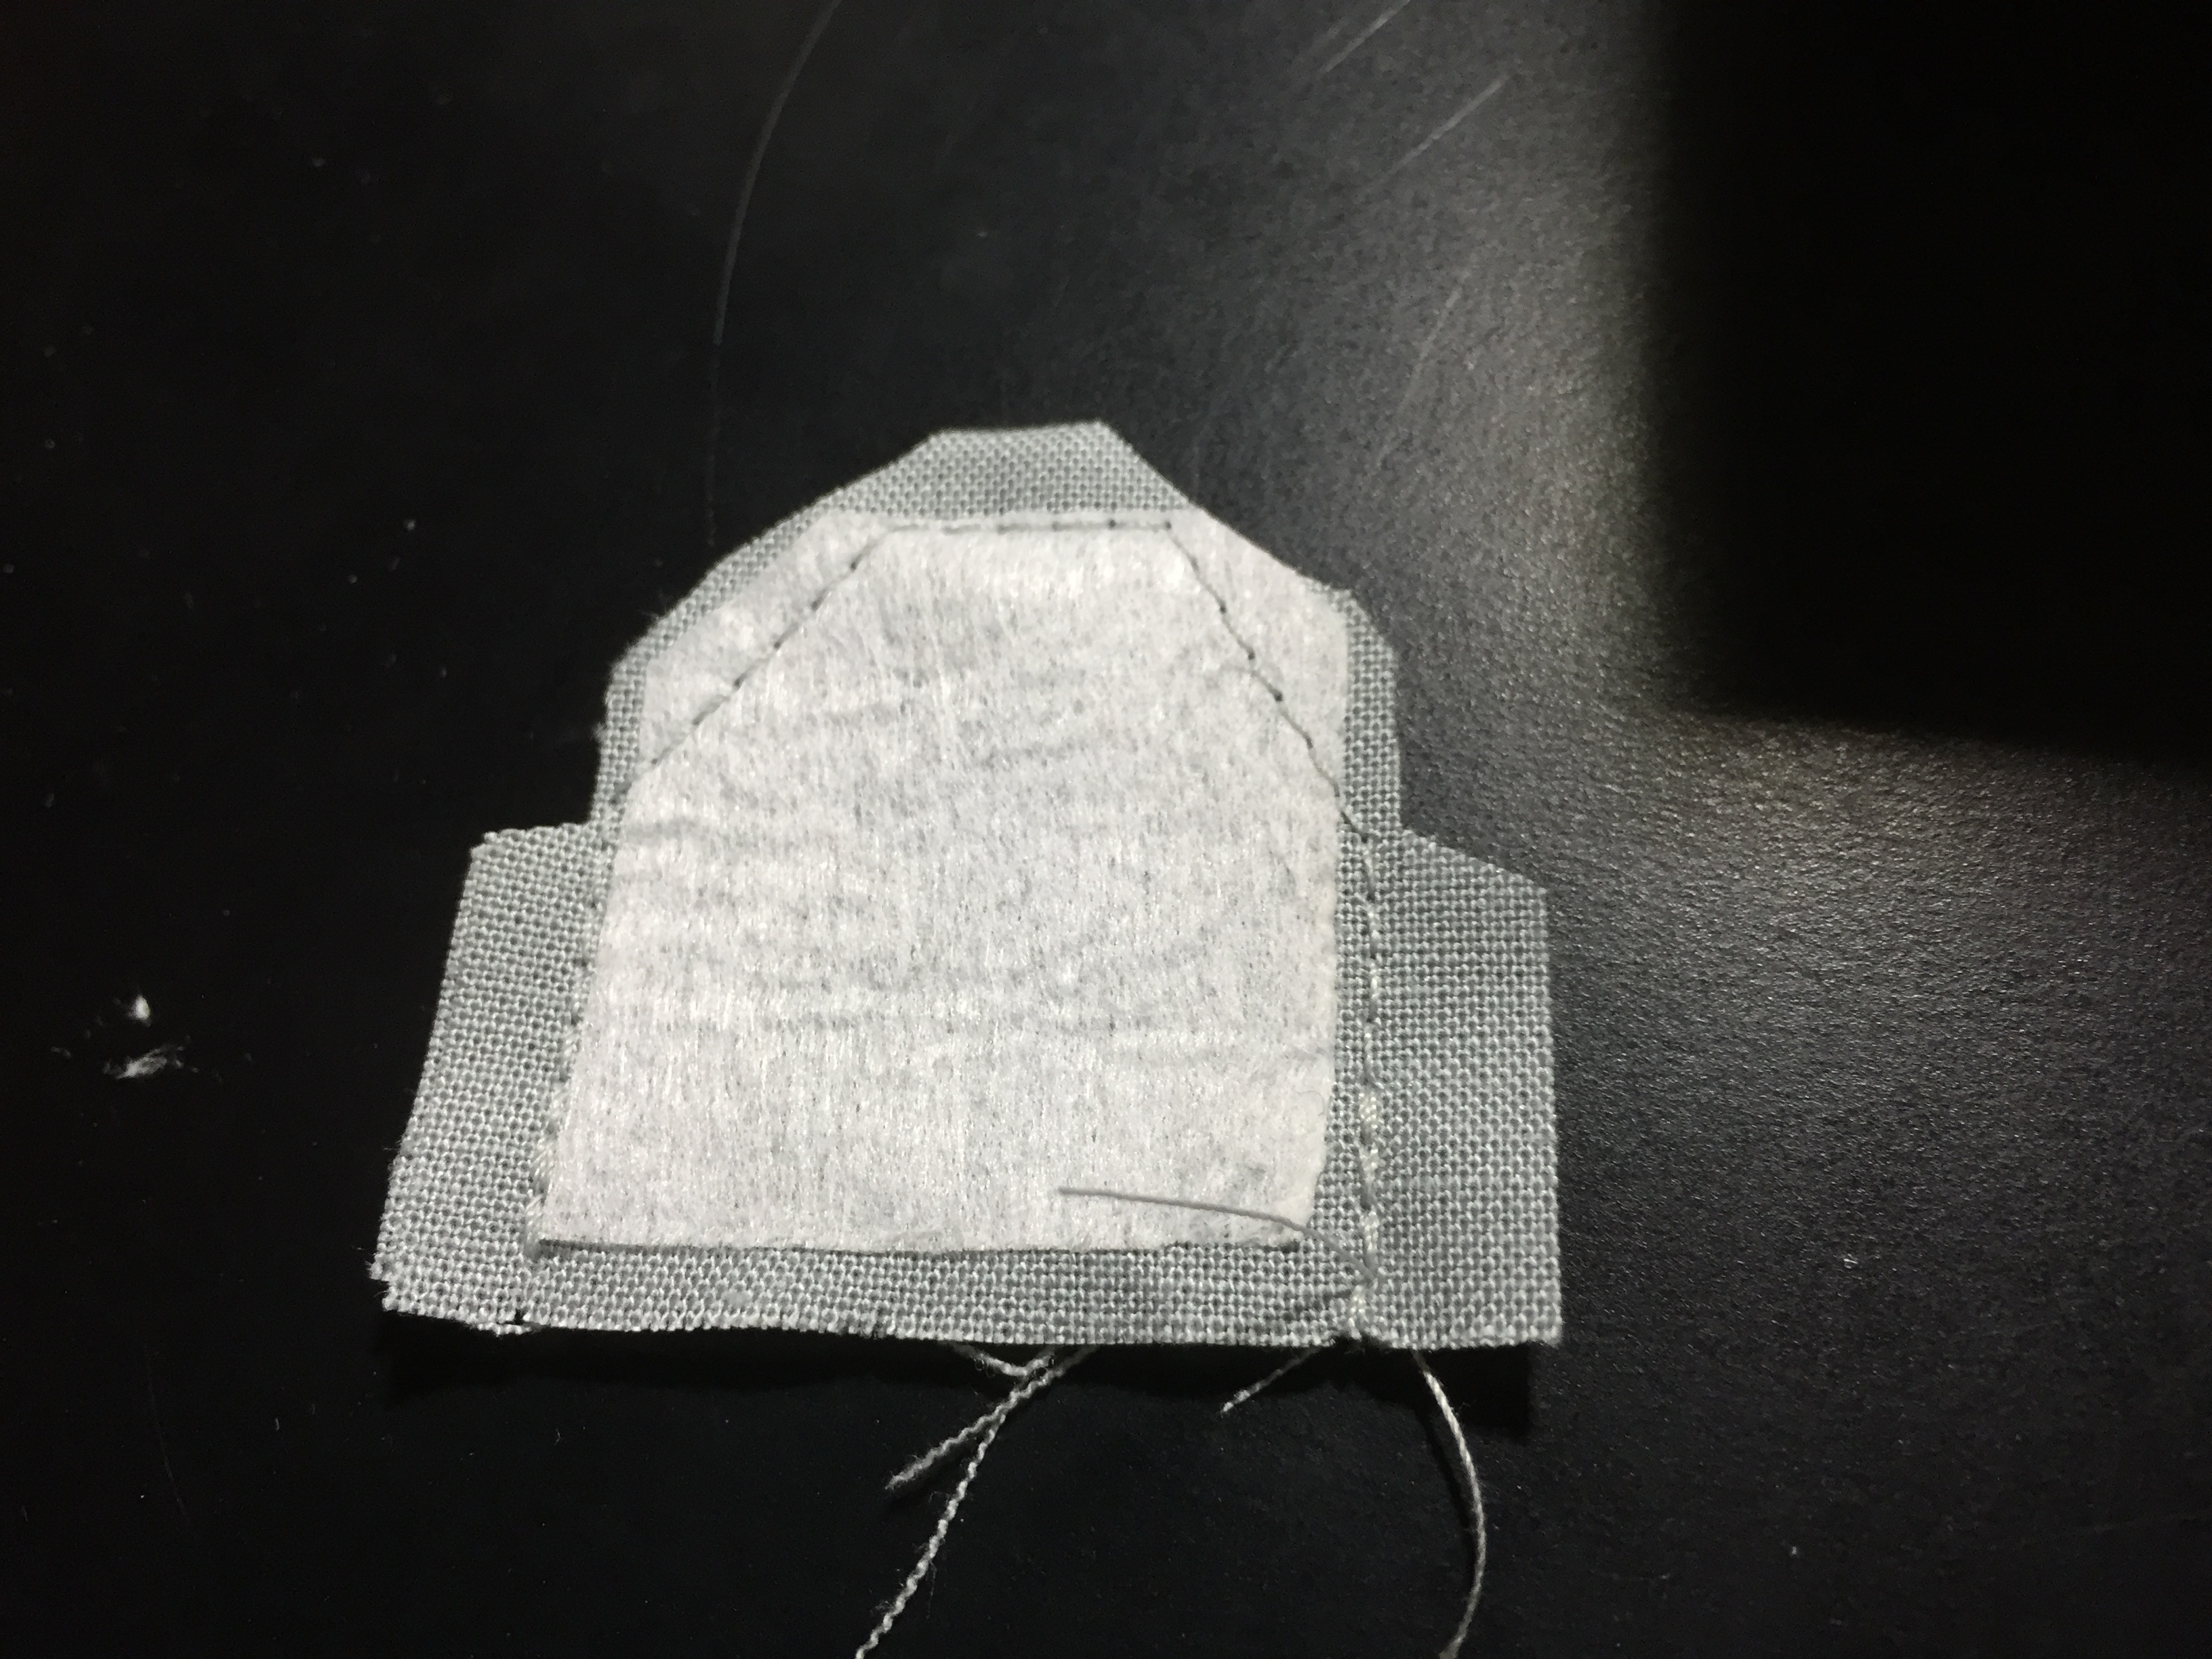
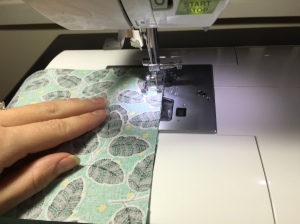
Starting with your 3″ x 1.5″ piece, turn right sides together and sew around the edges with a 1/4″ seam allowance.


Clip corners in order for it to turn inside out easily.
Turn inside out. Iron flat. Top stitch around the edges with a 1/4″ seam allowance.

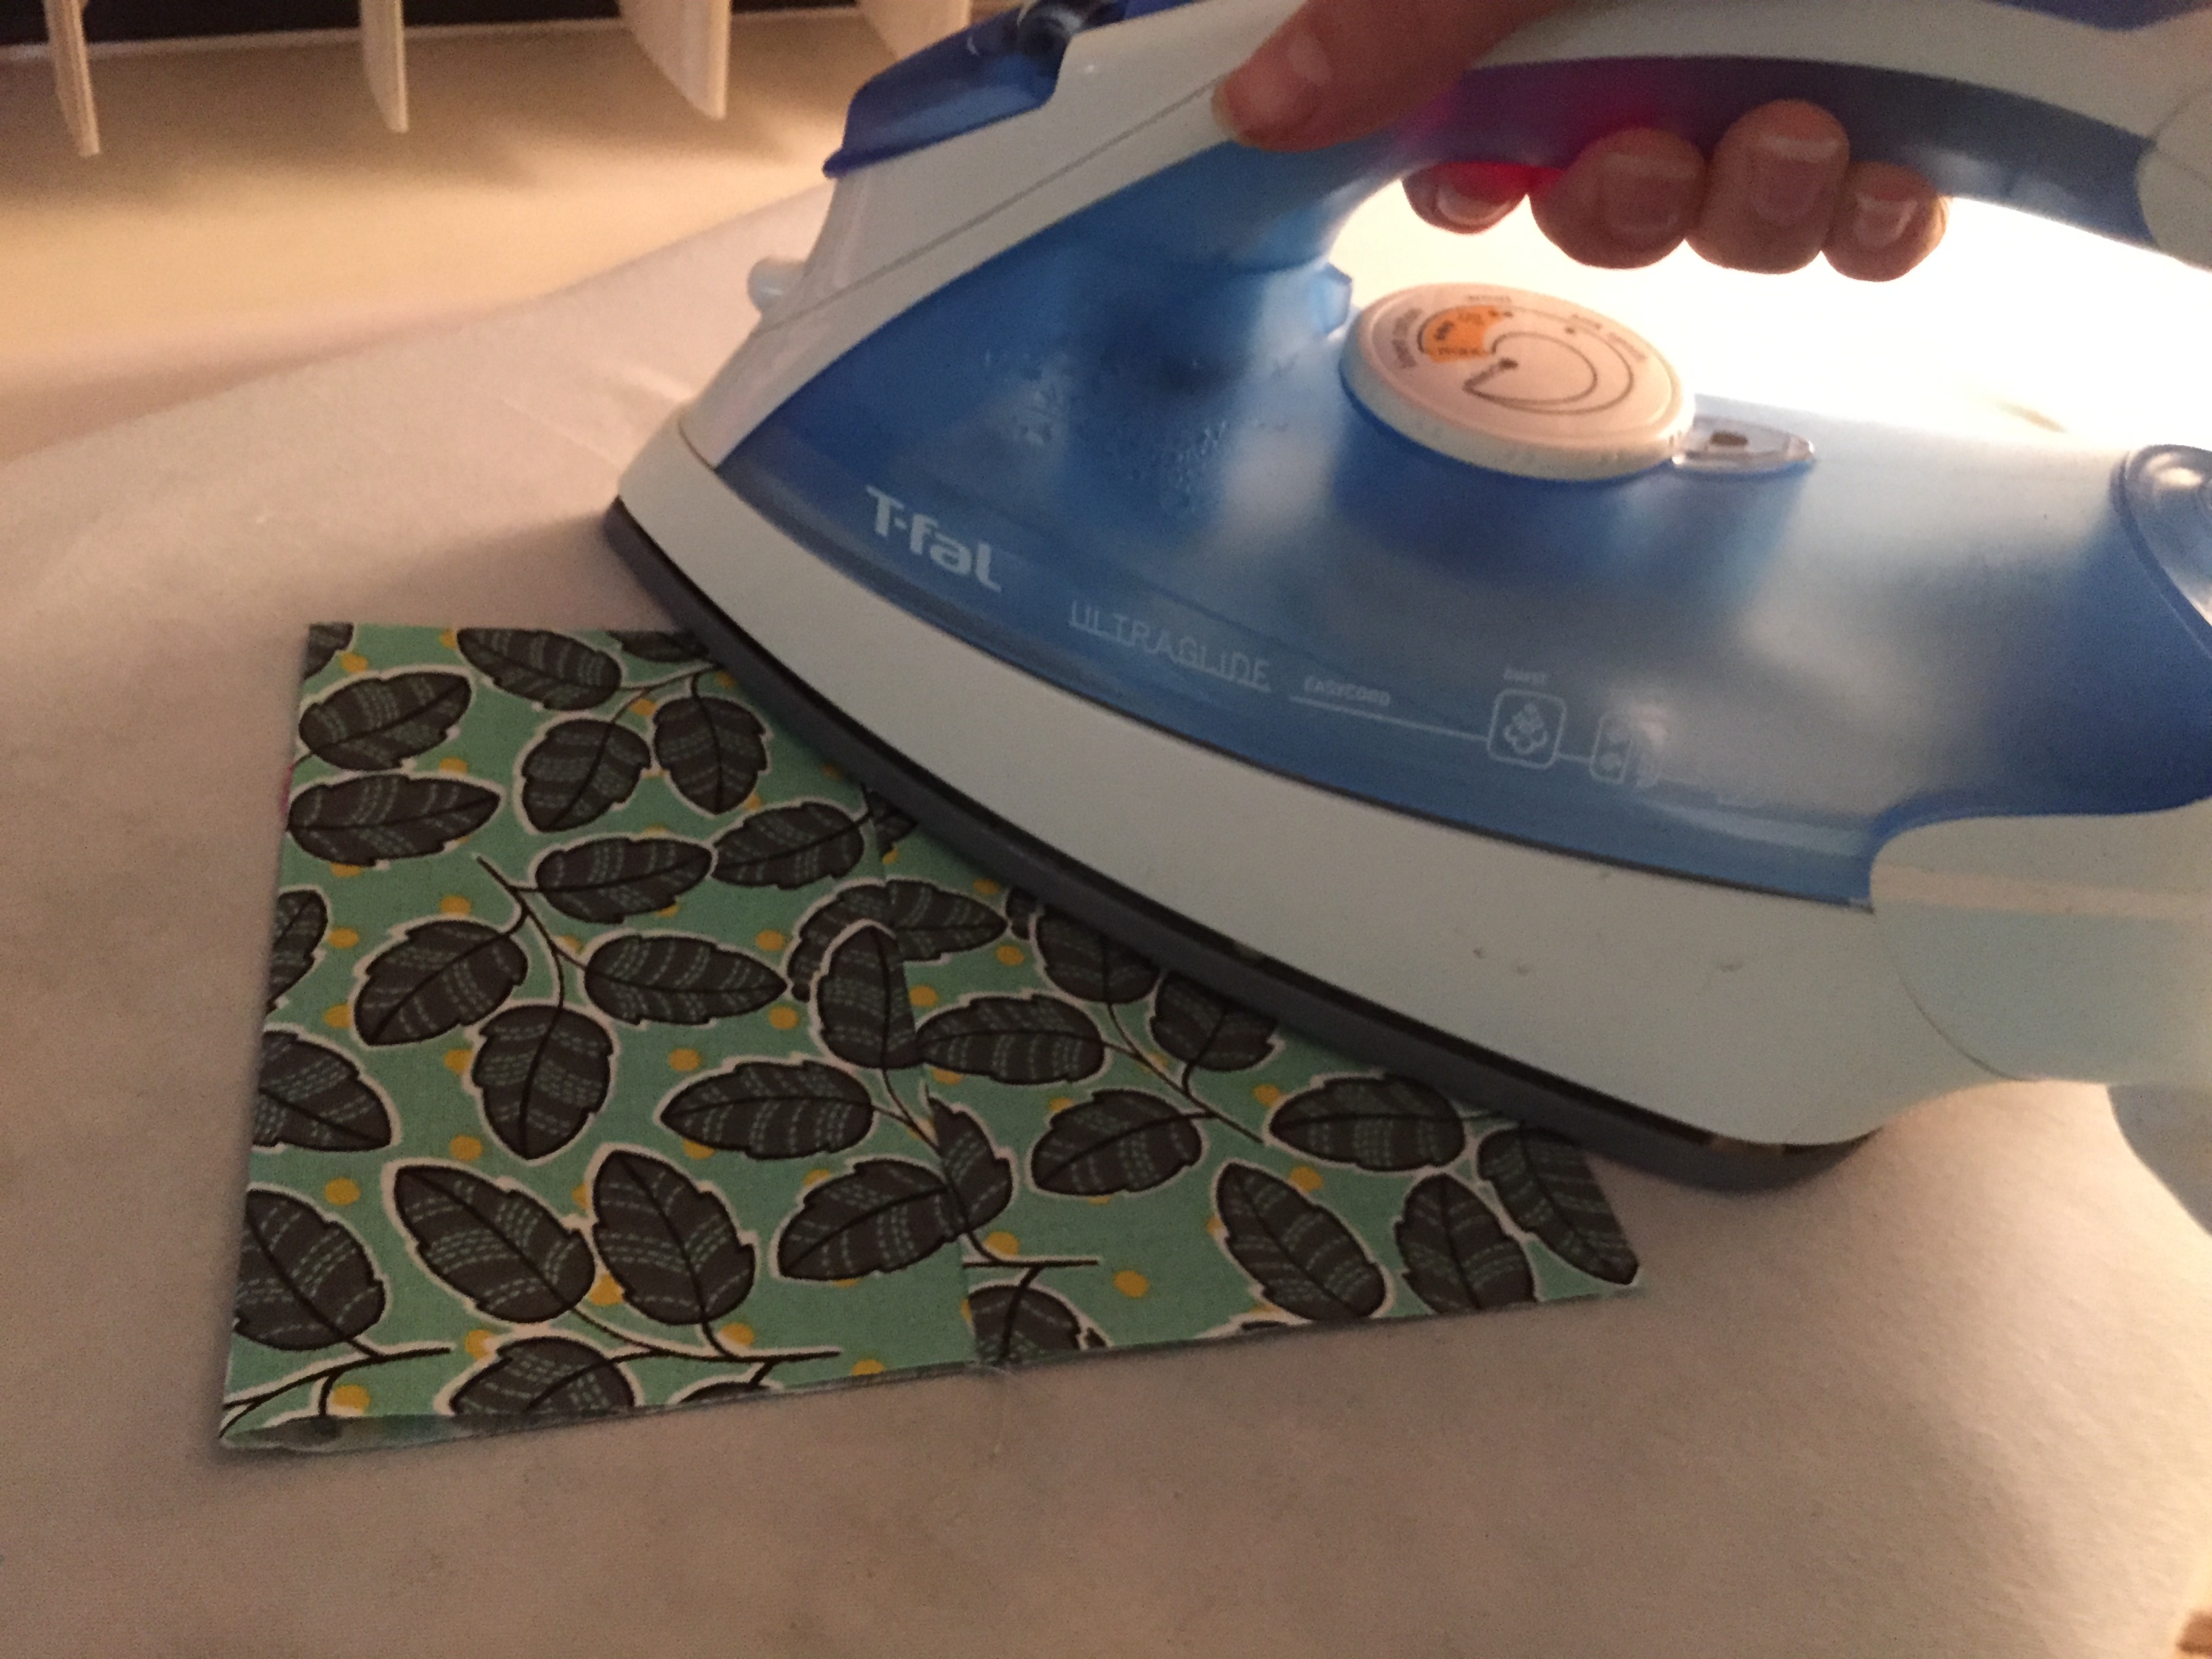
This will be your tab to put it through the key ring. In order to construct the tissue holder, fold material in half (right sides together) and sew along the 5.75″ side with a 1/4″ seam allowance.
Iron the seam to the side then turn the material right side out. Iron with the seam in the center.


With the seam-side down. Fold forward the sides so that they overlap about 3/8″ of an inch in the center of the top.

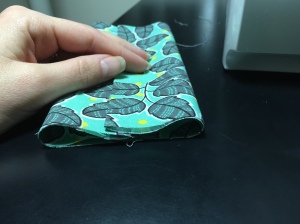
Sew along the side with 1/4″ seam allowance.
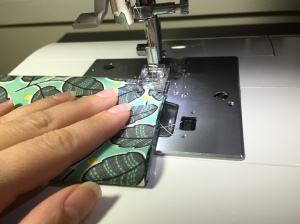
To add the tab. put it inside the pocket so that the seams line up.


Sew again along the side with 1/4″ seam allowance.

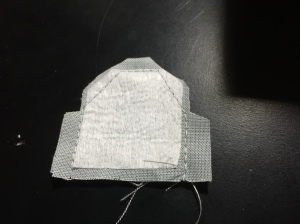
Now we will box all the corners. In order to do that open the packet and fold the seam so that it lines up with the inside long edge. Sew at about 1/2″ from the top.
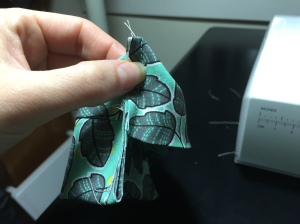

When your done with a corner it should look like this:

Do this to all the corners.

Trim each corner at 1/4″ from the seam you have just sewn.


Turn the entire packet inside out and ta da!!!

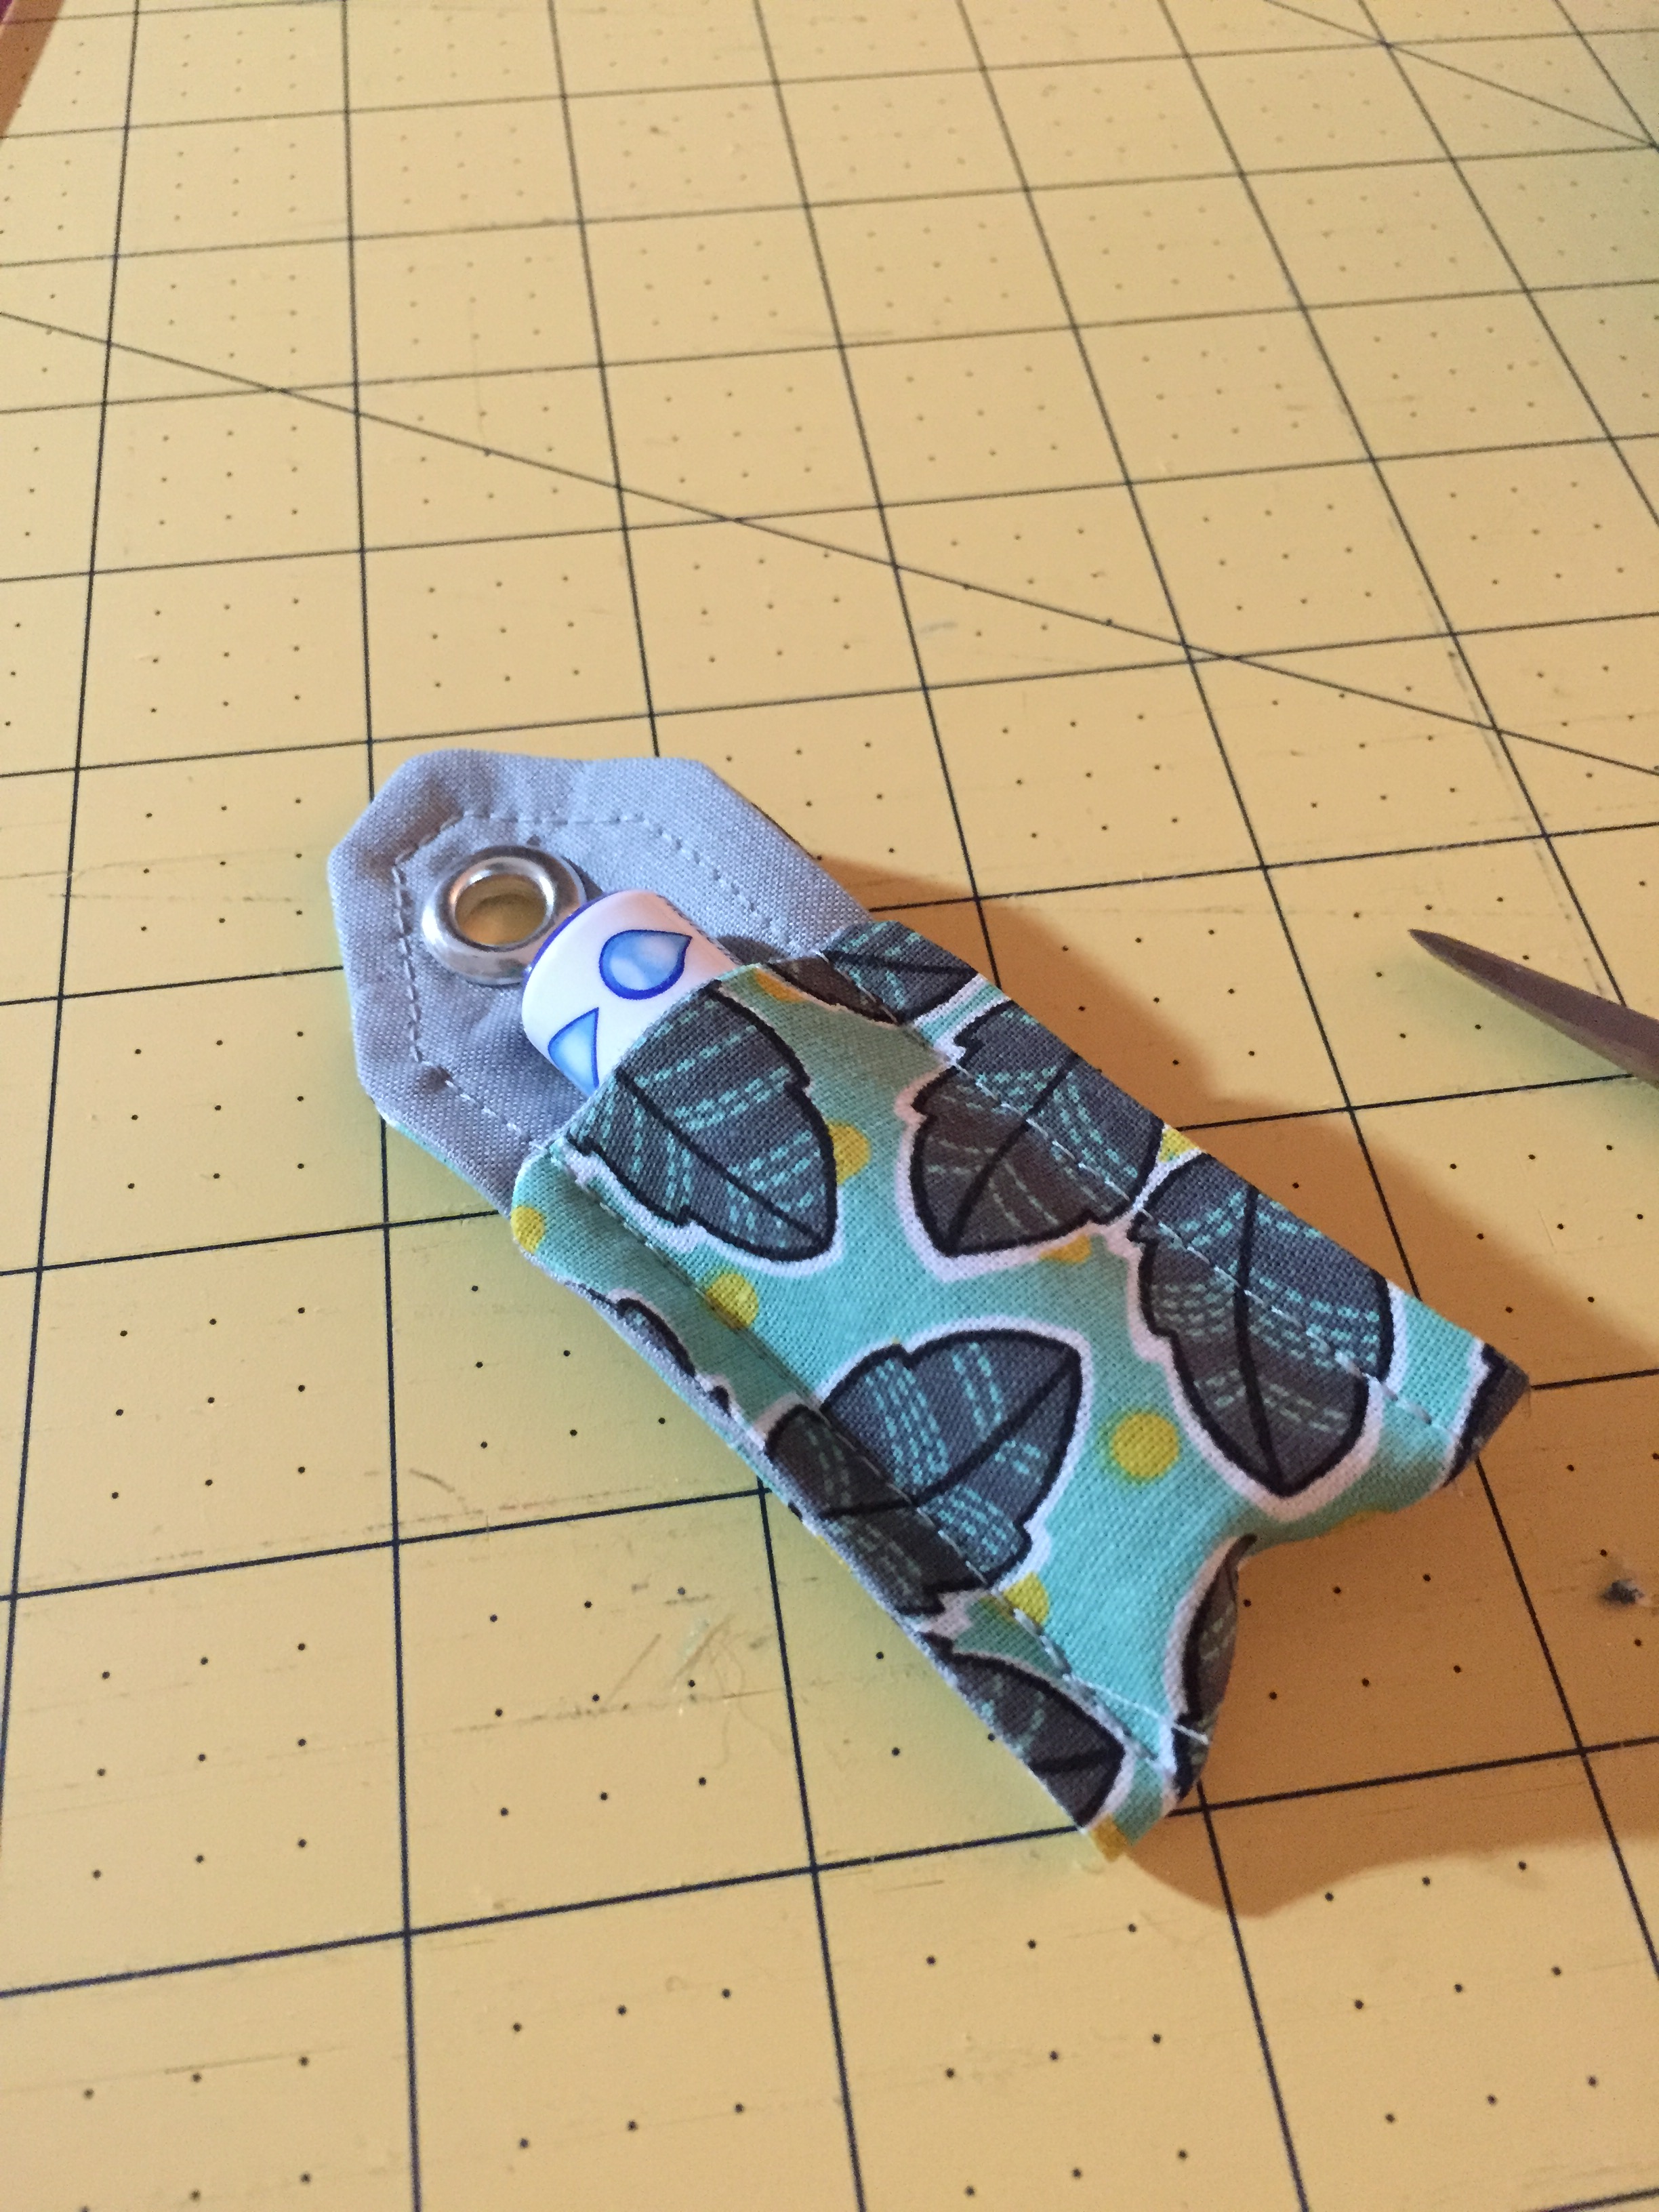
Add the eyelet into the tab in the same way we did for the chapstick holder.


Add the chapstick, tissues, and key ring and you are all done!

How cute is that!
Please leave a comment if you like my tutorial or if you have any questions. Happy sewing!!
You might find this project so addicting it looks more like this…